

Discovering mold in the shower can be unsettling, not just because it’s unsightly but also because of the health risks it poses, especially if you’re allergic. If you’re battling stubborn mold stains on your silicone caulk, you’re likely seeking a reliable method to remove mold effectively from shower caulking.
This guide promises to arm you with the knowledge to tackle mold growth head-on. From creating a potent bleach solution or vinegar solution to applying a thick paste, we’ll guide you through each step.
The Essential Supplies for Mold Removal
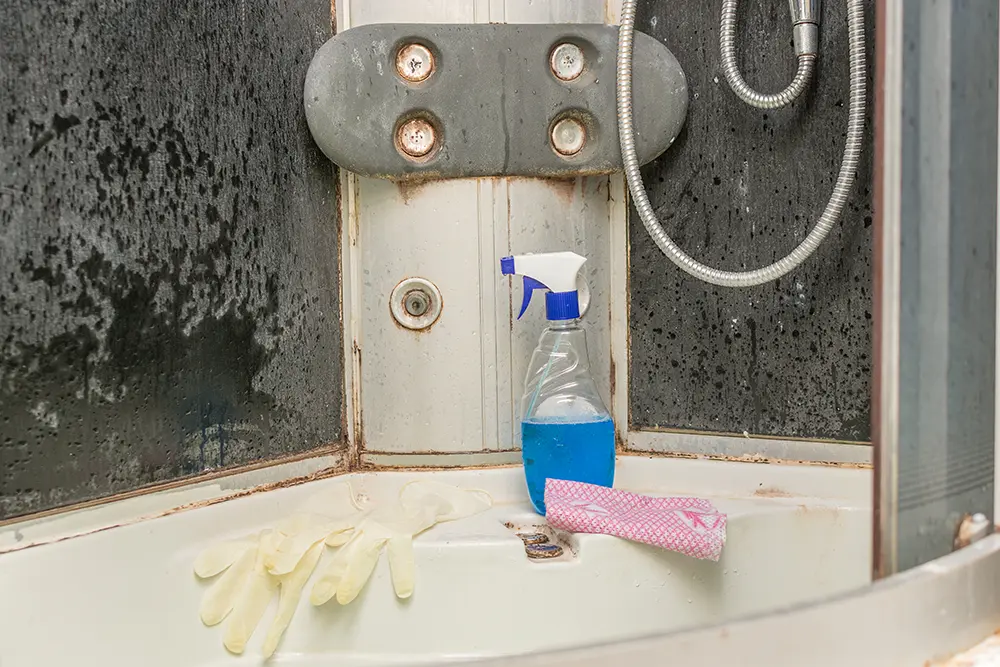
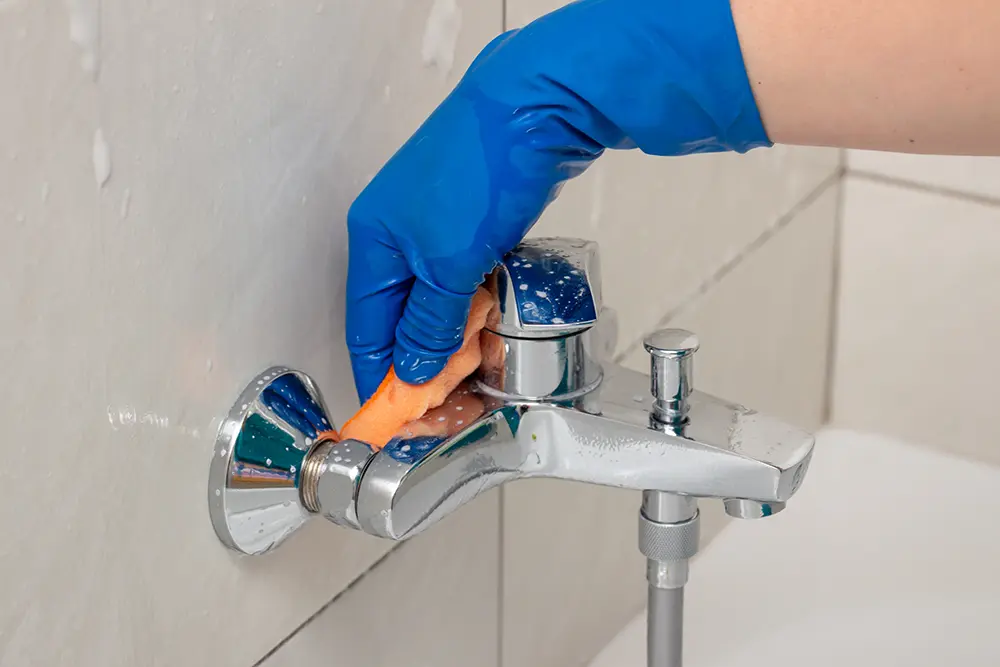
Equipping yourself with the right tools is crucial for tackling mold removal. The absolute basics you’ll need are rubber gloves to protect your hands, hydrogen peroxide as a potent mold combatant, and a scrubbing sponge for meticulous cleaning. Here’s a more detailed list:
Protective Equipment
- Rubber gloves to shield your hands from harsh cleaning agents
- Eye protection to prevent splashes from irritating your eyes
- A face mask to avoid inhaling spores or fumes
- Old clothes or a protective apron to keep your attire free of bleach stains
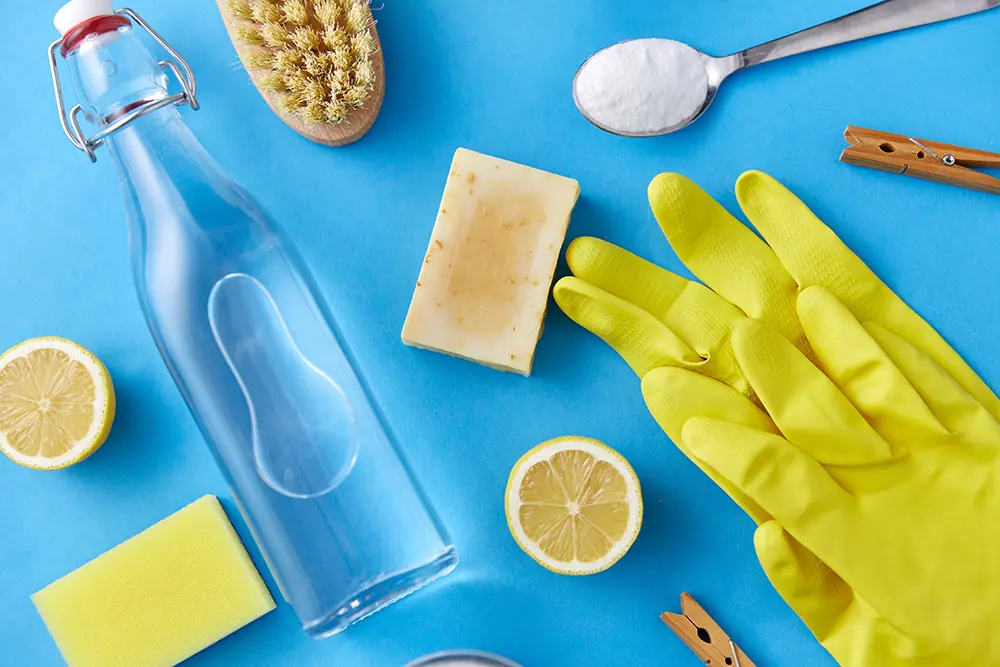
Cleaning Agents
- Bleach solution for disinfecting and whitening caulk
- Hydrogen peroxide as an alternative to bleach
- Vinegar solution for natural mold removal
- Baking soda to create a thick paste for tougher stains
Tools for Application and Removal
- Rubber gloves for safe handling of cleaning agents
- A caulking gun if reapplication of silicone caulk is necessary
- Brushes or sponges for applying cleaning solutions
- Scrapers or caulk remover tools for old caulk removal
Initial Preparations for Mold Elimination
Ensuring Proper Ventilation of the Bathroom
Before tackling the moldy areas, it’s vital to ensure your bathroom is well-ventilated to prevent health problems from inhaling fumes. Open windows, turn on the bathroom fan and consider using a stand-alone fan to circulate air. If the space lacks proper ventilation, take frequent breaks to avoid prolonged exposure to bleach and vinegar fumes.
As an added measure, soak toilet paper or cotton balls in your cleaning solution and place them on the affected areas to keep the fumes contained and maximize the mold-killing action.
Preliminary Cleaning: Prepping the Caulking
Before diving into mold removal, a preliminary cleaning is essential. Start by cleaning mold from the surface using a mild detergent to remove any grime or soap scum. This will expose the mold on the silicone caulk, making the removal process more effective. Rinse thoroughly and allow the area to dry before proceeding to the next steps.
Ensure that the caulk is intact and check for areas prone to mold due to excess moisture or damage. If you find any compromised sections, removing and replacing the caulking may be best after cleaning.
The Mold Removal Process
Step 1: Applying the Bleach Solution
Start by mixing your cleaning solution, using 1 part bleach to 10 parts water. Apply this solution liberally to the mold on the caulk, ensuring that you cover every spot. For a more targeted approach, you can use a spray bottle to apply the mixture directly onto the mold.
Step 2: Let the Mixture Sit and Penetrate
After applying the bleach solution to mold on the caulk, it’s time to let the mixture sit and penetrate the mold. Step away for at least 30 minutes. This step is vital for the solution to effectively break down and kill the mold.
To keep the solution moist and in place, you can use toilet paper or cotton balls soaked in the bleach solution as a poultice over the treated areas. This will prevent the solution from drying out too quickly and give it time to work.
Step 3: Scrubbing Away the Mold
Following the dwell time, get a bristle brush or scrubbing sponge and start scrubbing away the mold. Apply moderate pressure to lift the mold off the caulk without damaging it. For more stubborn areas, you may need to reapply the cleaning solution and scrub again.
Once you’ve scrubbed thoroughly, inspect the caulk to ensure that all visible mold has been removed. If you still notice mold stains, repeat the application of the cleaning solution and scrub until the stains are gone.
Step 4: Rinsing and Assessing the Results
Now that you’ve put in the elbow grease, it’s time to rinse the area with water. Use a wet cloth or a handheld shower to remove any remaining bleach solution and loosened mold. Ensure that you rinse the area thoroughly to prevent any bleach residue, which could be harmful if left behind.
After rinsing, use tissue paper to dry the area and assess the results. If you notice any lingering mold stains, consider applying a cup of bleach directly to these spots and repeating the scrubbing process. However, if the caulk is damaged or still shows signs of mold, it may be time to use a caulk remover and reapply fresh silicone caulk.
Natural Alternatives for Those Averse to Bleach
If you prefer to avoid bleach, natural alternatives like vinegar can be equally effective. Apply a vinegar solution and let it sit for 30 minutes, just as you would with a 1-part bleach mixture, to break down mold naturally.
Using Vinegar as a Mold Combatant
Vinegar is a reliable and natural option for eliminating mold in moldy areas of your shower caulking. You can use pure vinegar or you can it as a solution. Simply mi one part vinegar (50%) with one part water(50%).
Start by filling a bottle and then spraying the affected areas liberally with white distilled vinegar. Allow the vinegar to sit for an hour, as the acetic acid it contains is effective at breaking down mold.
After soaking, scrub the caulking with a brush to remove any remaining mold. Rinse thoroughly with water and dry the area to prevent mold from reoccurring.
Baking Soda: The Gentle Abrasive
Baking soda is another excellent choice for tackling mold, especially if you’re looking for a less acidic alternative to vinegar.
Take three parts baking soda (75%) and one part water (25%). Create a paste by mixing baking soda with water and apply it directly to the moldy caulking. Baking soda’s natural abrasive properties help scrub the mold without damaging the caulking.
After applying the paste, let it sit for several minutes to penetrate the mold. Then, use a brush to scrub the area gently, ensuring that you reach into the crevices where mold likes to hide. Once you’ve scrubbed the mold away, rinse the area with water and dry it completely.
Post-Cleanup: Preventing Future Mold Growth
After you clean your shower, take proactive measures to prevent mold growth from recurring.
Drying and Maintaining a Mold-Resistant Shower
Post-cleanup, it’s crucial to maintain a dry shower to prevent mold from establishing a foothold. Regular cleaning, including a weekly cleaning and a daily shower spray, can keep mold from growing. After using the shower, always ventilate your bathroom. Take a few minutes to wipe down the surfaces, paying special attention to tile grout and any areas prone to moisture accumulation, which mold thrives on. This simple act can drastically reduce the humidity that mold spores need to grow.
For added protection, consider using a bleach solution periodically to clean the shower. This can be particularly effective on non-porous surfaces like tiles, but should be used cautiously to avoid damaging the caulking. Always ensure the area is well-ventilated when using bleach and rinse the surfaces thoroughly afterward.
Inspect and caulk frequently, particularly if you notice any mold growing on the caulk, and ensure a deep cleaning schedule to maintain a mold-resistant environment.
When to Consider Re-Caulking
Despite your best efforts to maintain and clean your shower, there may come a time when re-caulking is necessary. If you notice persistent mold that doesn’t respond to cleaning, or if the caulking is peeling, discolored, or damaged, it’s likely time to remove the old caulk and apply a fresh layer. This can prevent water damage and ensure that your shower remains a clean, mold-free space.
When re-caulking, remove all traces of the old caulk and thoroughly clean the area. Allow the surface to dry completely before applying new caulk, and choose a mold-resistant variety for the best long-term results.
The principles of regular maintenance and thorough cleaning apply to keeping all your tools, including caulking guns, in good condition.
A Fresh Start: Enjoying a Mold-Free Shower Space
After diligent mold removal efforts, your shower space now gleams with cleanliness. By following this comprehensive guide, you have not only eradicated unsightly mold but also restored the health of your bathroom environment.
Remember, the key to maintaining this pristine state is regular upkeep. Just as you would learn how to clean garden tools after each use to prevent rust and decay, similarly, frequent cleaning and attention to humidity levels will keep mold at bay, ensuring you can enjoy a mold-free shower space for the long haul.